Top Tips of Easy Selective Image Editing
In PT Photo Editor, there is a specific module for selective image editing (meaning editing in a specific area rather than the entire photo) - Regional Edit. The Regional Edit module provides several selection tools that suits different kinds of selections that need to be made. You use any of those tools to make your selection. After selecting, tweak the adjustments until you’re happy.
The Regional Edit module allows you to create more than one selection, and you can go back and modify the selected area at any point in the future. You can add to or take away from the selection, and you can adjust the edits you made to it. Sounds like an adjustment layer in Photoshop, right? But actually much easier to use.
There are top tips of how to do selective image editing with PT Photo Editor:
- Use the selection tools properly. Different selection tools suit different kinds of selections that need to be made. Using these tools properly could help you select the areas quickly and precisely.
Each time you create a new selection, it will be listed in the panel as a region. Click the region name to choose the selection you want to edit.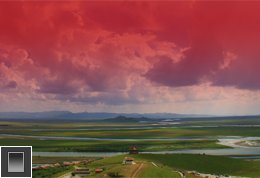
Gradient Tool: Create a gradient region in the photo, where you can apply exposure, Saturation and other adjustments gradually across the region. Brush: Paint over the image to select or deselect areas. 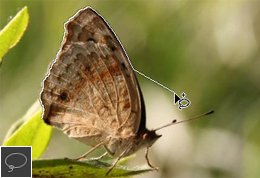
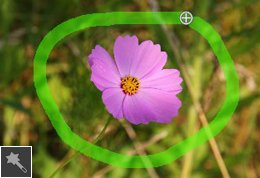
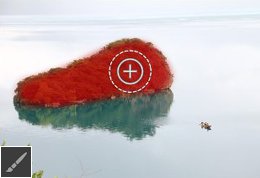
Lasso: Selecting a certain object by drawing a selection border, best for precision. You can drag to draw a freehand selection border or create straight-edged segments by continuous clicking in the photo. Quick Selection: The Quick Selection tool automatically makes a selection based on color or/and luminance when you click or draw a line in the area you want to select. - Show overlay to check if the selection is right - Press [O]. To have the best view of the area you have selected, choose Overlay On. This displays a red overlay over the selected area. Choose Overlay Off to turn off the overlay. Use tools to modify the selection if needed.
- Use feathering well intentionally. A higher feathering number makes for softer edges with gradual transitions between selected and unselected areas. A lower number makes crisper, more precise edges. For example, you may use a higher feather when editing portraits and a lower feather for man-made objects.
-
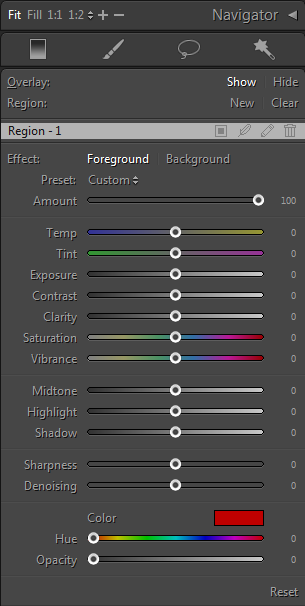
Flexible use of Foreground/Background adjustment function. For each selection, the effect adjustments include two parts – Foreground and Background. If you want to adjust the selective area, choose Foreground panel. If you want to apply effects to the area outside the selection, choose Background panel. So when you want to make different adjustments inside and outside the selection border simultaneously, this could be quite convenient and time saving.

Photoshop&Lightroom are trademarks of Adobe Systems Inc.