A Quick Way to Soften Skin
 |
 |
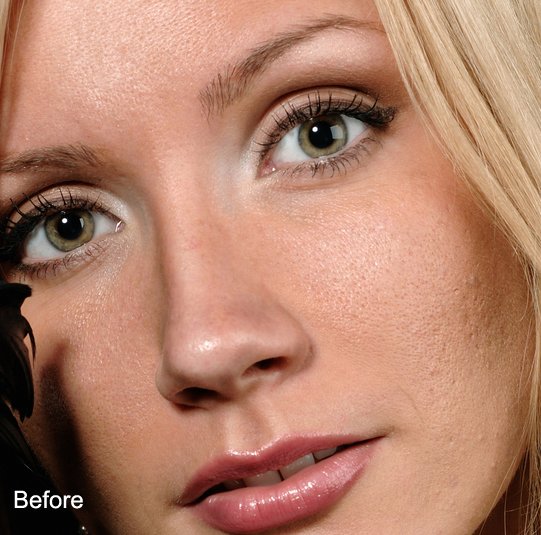
For everyone who wants to do a little retouching to a portrait, making skin look smoother is always a common request. This tutorial tells you a super quick way in PT Photo Editor to soften skin and in just a few minutes you can have smooth skin for anyone.
To start just select your image and zoom into the face area. Next select the Brush tool in the Regional Edit panel.
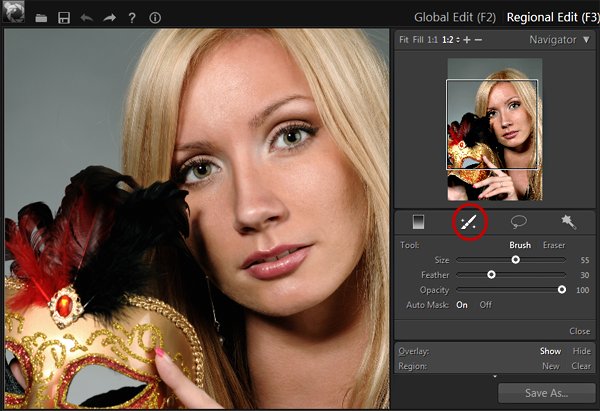
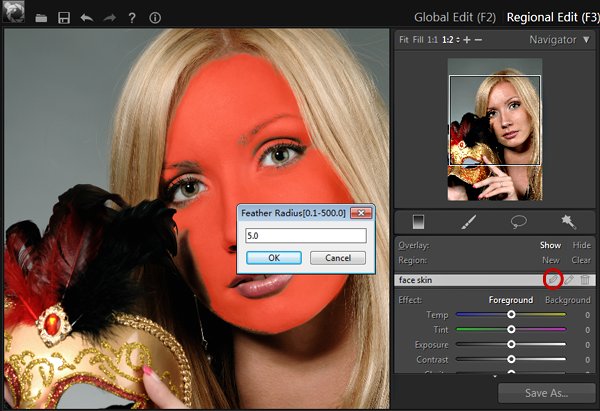
Set proper brush size and feather, turn on Auto Mask which helps you only paint to the areas of similar skin-color. Now start painting over the face.
As soon as you start painting, red color overlays the face. The red color simply shows the area where will be retouched. If you don’t want the red color to be shown you can press [O] to turn off overlay.
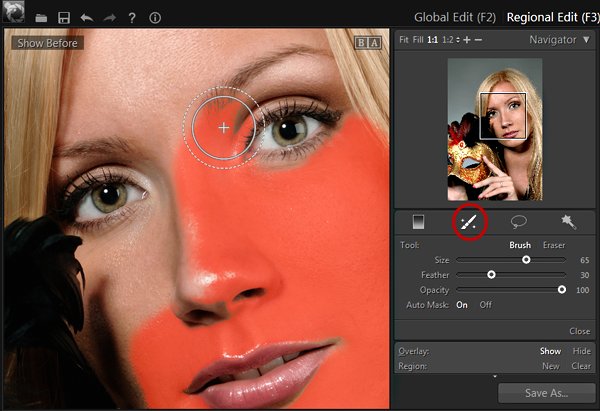
After the entire face skin area has been selected, click  to make the selection edge softer.
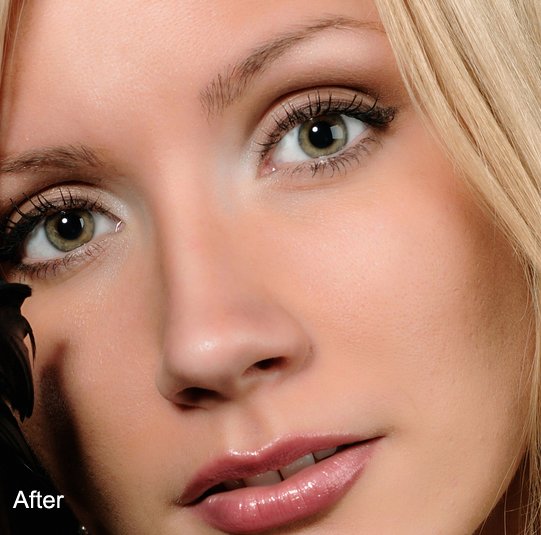
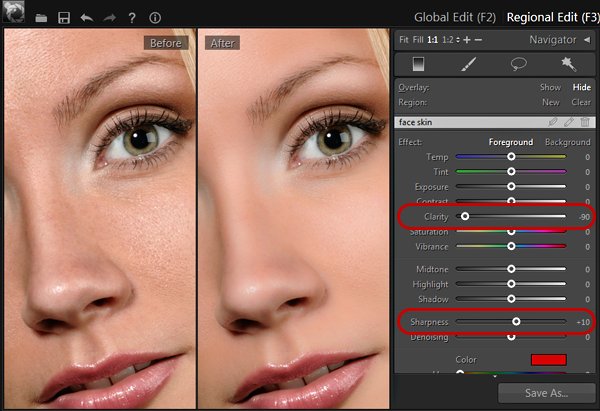
To soften skin, in this example, I move Clarity down to -90 and the Sharpness up +10.
If this effect is too much and the skin looks too soft for your taste all you have to do now is adjust the Clarify slider. As you move this back and forth you will see the skin go from smooth back to normal.
Photoshop&Lightroom are trademarks of Adobe Systems Inc.