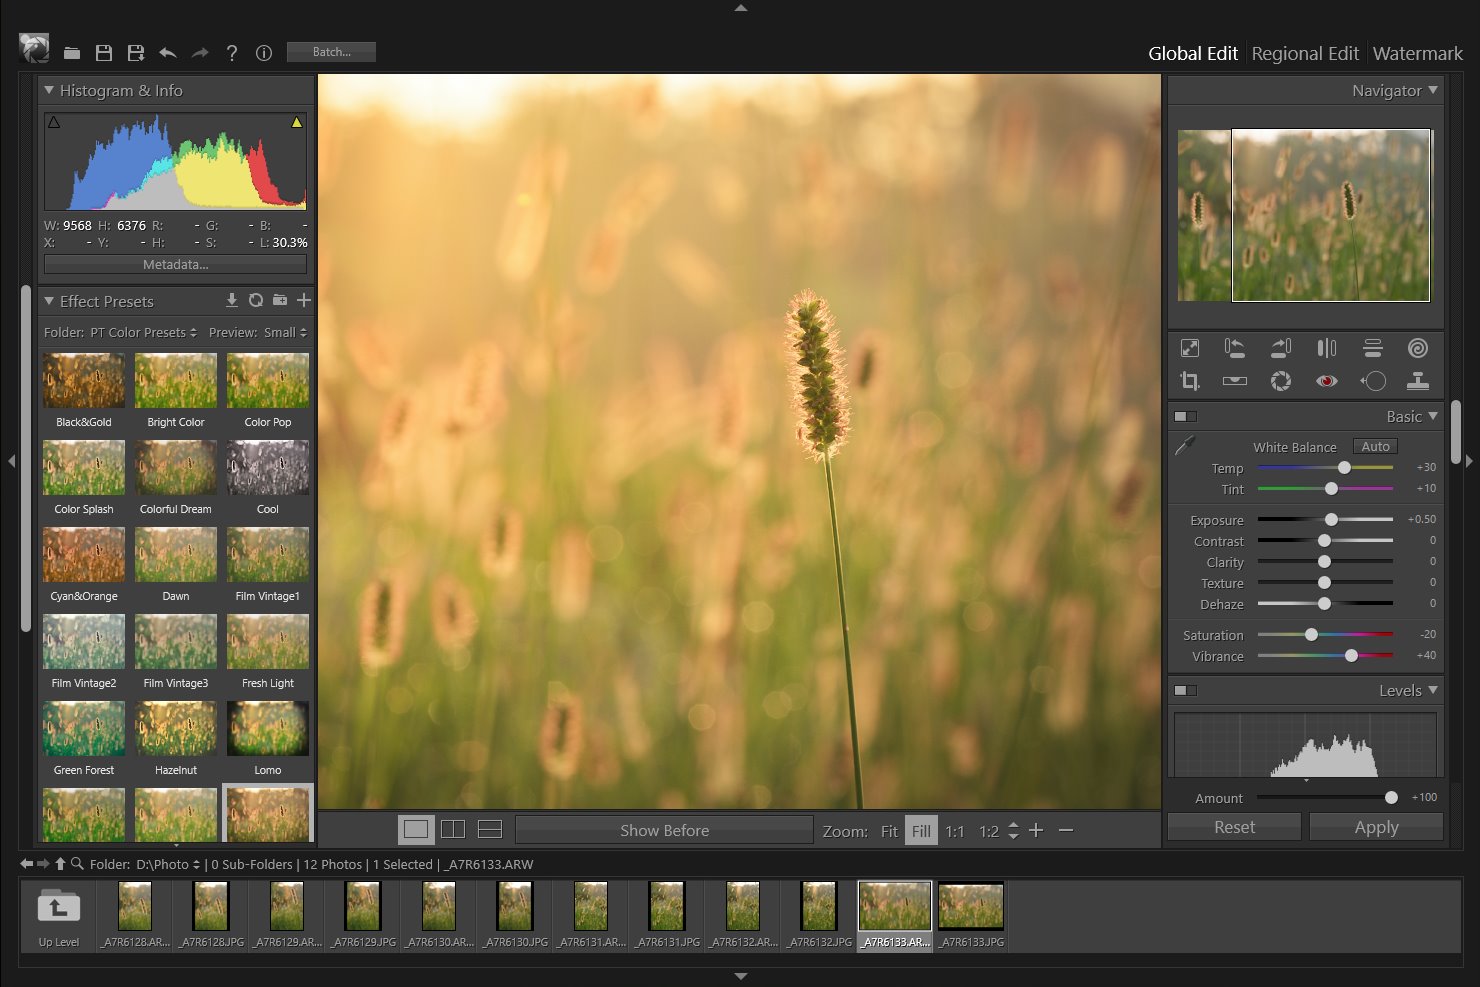
PT Photo Editor 5
A powerful but amazingly lightweight RAW photo editor.
- Provides plenty of useful adjustments and handy retouching tools
- Preserves every detail of your RAW with high quality 16/32-bit algorithms
- Supports viewing/editing image metadata
- Creates proffesional look watermarks
- Does everything in batch
1
What's Regional Edit
The Regional Edit section allows you to selectively edit your photo, apply color and tonal adjustments to a specific area.
Apply local adjustments to the photo
-
Use Selection Tools in the tool stripe to create a selection. There are four Selection Tools:

Gradient Tool: This is used to create a gradient region in the photo, where you can apply Exposure, Saturation, and other adjustments gradually across the region.
See how to use Gradient Tool.
Brush: Select or deselect the area you paint. It lets you selectively apply Exposure, Saturation and other adjustments to photos by "painting" them onto the photo.
See how to use Brush.
Lasso: The Lasso tool is useful for selecting a certain object by drawing a selection border. It lets you make very precise selections.
See how to use Lasso.
Quick Selection: The Quick Selection tool makes a selection based on color or/and luminance when you click or draw a line in the area you want to select. The mark you make does not need to be precise, because the Quick Selection tool automatically selects the area.
See how to use Quick Selection tool.
Note:
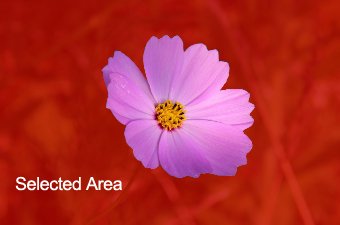
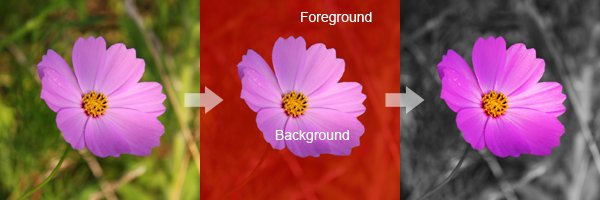
When a selection has been created, a red overlay is shown in the image, which represents the selected area. When you drag effect sliders, the adjustment result will be applied in the image in real-time while the red overlay hidden temporally. If you want to keep the overlay hidden, click Overlay Hide or press [X].
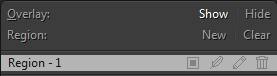
Overlay Show: Show the selection in the photo with a red overlay.
Overlay Hide: Hide the red overlay, so you can see the photo result of the selective adjustments applied. -
Drag Effect sliders to apply the adjustments to a specific area.
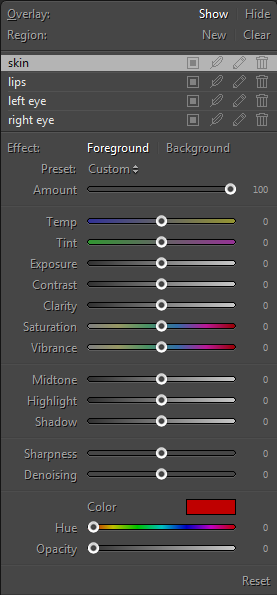
In "Regional Edit" Module, the adjustments panel contains two portions – Foreground and Background.
If you want to adjust the selected area, choose "Foreground" panel.
If you want to apply effects to the area outside the selection, choose "Background" panel.
Note: The "Sharpness" and "Denoising" sliders share the same radius with the "Details" effect in Global Edit. -
You can create several selections in a photo. All selections can be managed in the right panel. Choose a certain selection, modify it with Selection Tools, or apply some adjustments to it.
To refine the operation of the selection, do any of the following:- To create a new selection, click New.
- To remove all previously created selection, click Clear.
- To hide/show a selection adjustment effect, choose the selection and click
 /
/ .
. - To delete a selection, choose the selection and click
 .
. - To rename a selection, choose the selection and click
 .
. - To blurs the transition between the selection and surrounding pixels, click
 and input the Feather radius. This can make the edge of the entire selective area look soft.
Home
What's Regional Edit
Gradient Tool
Brush
Lasso
Quick Selection Tool
Presets
Copyright©Chengzhu Li, 2009-2026. All rights reserved.
Photoshop&Lightroom are trademarks of Adobe Systems Inc.
Photoshop&Lightroom are trademarks of Adobe Systems Inc.