PT Photo Editor 5
A powerful but amazingly lightweight RAW photo editor.
- Provides plenty of useful adjustments and handy retouching tools
- Preserves every detail of your RAW with high quality 16/32-bit algorithms
- Supports viewing/editing image metadata
- Creates proffesional look watermarks
- Does everything in batch
17
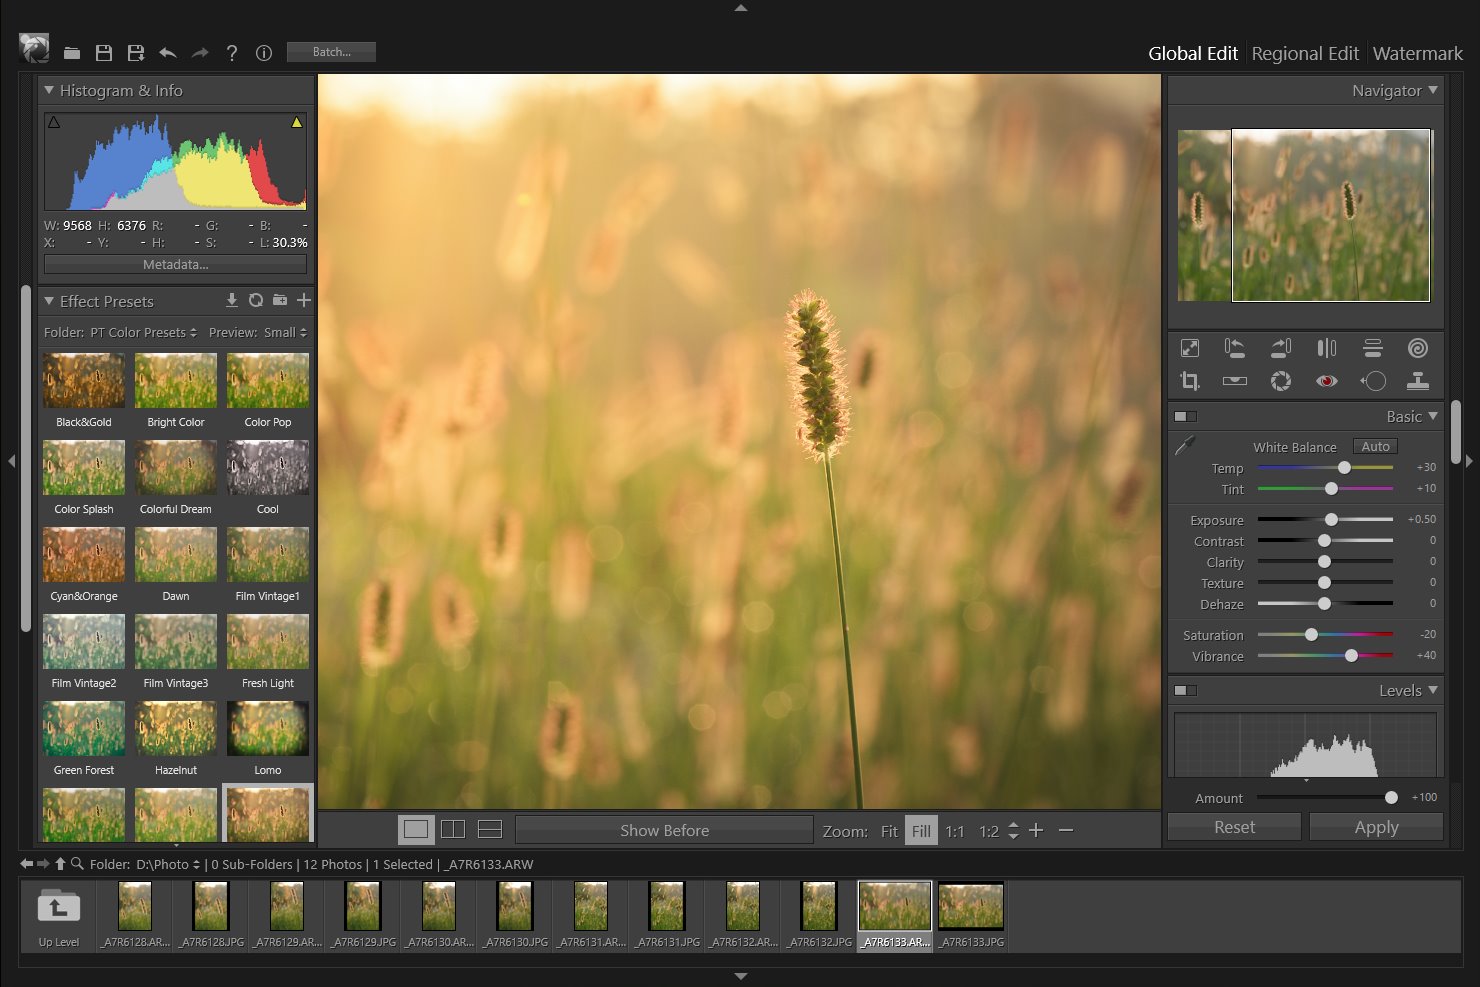
Effect Presets
Presets provide a way to save a group of adjustments and apply them to other photos. Once you create and add a preset to the Effect Presets panel in the Global Edit module, it remains there until you delete it.
Preview and apply an effect preset
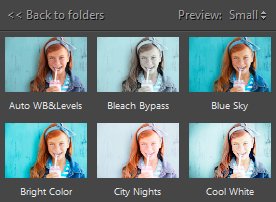
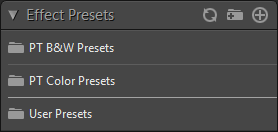
A set of default presets is listed in the Effect Presets panel. Click the PT General/Color/B&W Presets folder to display the default presets.
- Each preview image shows the effect of a preset applied to your original photo. There are "Small", "Medium", "Large" three preview modes.
- To apply a preset to the photo, double click the preview image.
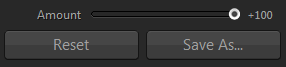
- After applying a preset, you can use the "Amount" slider at the bottom right to control the effect strength.
Create a new preset
Presets you create are based on the current adjustments.
- In the Global Edit module, click the Create a new preset button
 at the top of the Effect Presets panel.
 - Click to select each of the adjustment items you want to include in the preset.
- Type a name in the Name box, specify which folder the preset should appear in, and click "Create" button.
The preset is added to the list in the specified folder in the Effect Presets panel.
Update a user preset
- Right-click a user preset and choose "Update...".
- Specify the adjustment items you want to include in the preset and click "Update".
Import and export presets
- To import presets, right click on or in the custom presets folder where you want the presets to appear and choose "Import...", then select the preset files and click "Open".
- To export presets, right-click the selected presets and choose "Export...". Specify a file folder and click "OK". If you want to export all presets from a preset folder, you can just right-click its folder name.
Manage user presets
- You cannot modify the default PT Presets, but you can right click to Copy them to user(custom) preset folders.
- To rename a user preset, right click it and choose "Rename".
- To delete one or more user presets, select and right click the presets, choose "Delete". To delete a user preset folder and all of its presets, right click the folder name and choose "Delete".
- To move one or more user presets to another user folder, select and right click the presets, choose "Move to folder".
- To see where a user preset or folder is located, right click it and choose "Show in Explorer...". You can manage your presets there, then click Reload button
 at the top of the panel to refresh the list.
Home
Overview
Crop Tool
Straighten Tool
Lens Correction Tool
Red Eye Correction Tool
Blemish Removal Tool
Clone Tool
Liquify Tool
Basic Adjustments
Levels
Curves
Color Adjustments
Split Toning
Details
Vignette & Grain Effect
Color Correction
Effect Presets
Clipping Warning
Copyright©Chengzhu Li, 2009-2026. All rights reserved.
Photoshop&Lightroom are trademarks of Adobe Systems Inc.
Photoshop&Lightroom are trademarks of Adobe Systems Inc.